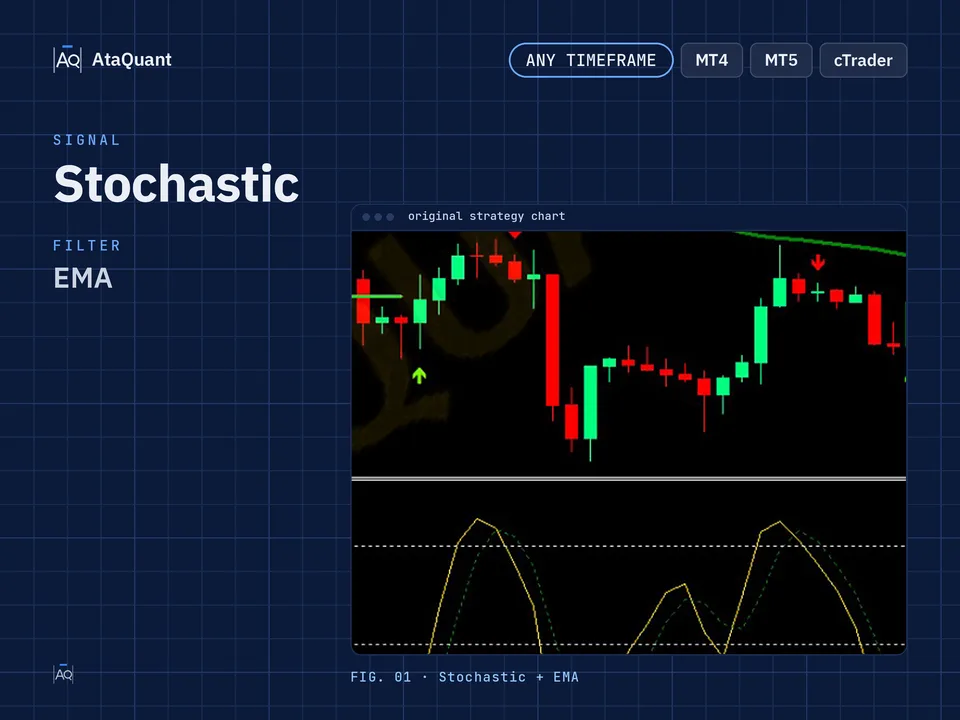
Enhancing Trading Success with the Stochastic and EMA Strategy
Enhance your trading performance with the Stochastic and EMA strategy, a precise method combining momentum and trend confirmation. Designed for 5- and 15-minute time frames, this strategy helps traders align with market direction, improve accuracy, and apply the rules consistently.

Ready-made EA for this strategy is provided below — scroll to purchase
◊ Introduction to the Stochastic Trading Strategy
Today, we will introduce you to a comprehensive trading strategy centered on the stochastic indicator.
The stochastic indicator aids in detecting overbought and oversold areas in asset price movements. When an asset becomes oversold, it generates a buy signal once the saturation period concludes. Conversely, when an asset is overbought, a sell signal is generated.
To further refine these signals, we use two exponential moving averages, enabling the identification of the overall market trend. Subsequently, we only execute trades that align with the direction of the established market trend.

◊ Indicators Used
To implement this strategy, we need three indicators:
1 - Stochastic oscillator
2- EMA 150
3- EMA 50
◊ The trading time frame of this strategy
This trading setup is used in the time frame of 5 minutes and is better than the 15-minute setup.
◊ What is stochastic?
This oscillator is a simple yet accurate tool for understanding overbought and oversold conditions in trading. It comprises two distinct bands – an upper band indicating overbought levels and a lower band representing oversold levels. The oversold range spans from 0 to 20, while the overbought range extends from 80 to 100.

◊ Settings of indicators
Stochastic Indicator settings
We apply the following changes to its settings in the INPUTS section:
%K Length=5
%K Smoothing=5
%D Smoothing=5

EMA Indicator settings
In the INPUTS section, we set the number 150 for one of the EMAs and 50 for the other. In the STYLE section, we choose different colors for them so that we can distinguish them easily.

◊ Entering and exiting trades with this strategy
When EMA50 is above EMA150, we only open buy positions, and when EMA50 is below EMA150, we only trade sell positions.

Want to Automate this Strategy? Check out Ready-Made Expert Advisor here
◊ How to open a long position for using the Stochastic & EMA Setup
● Entry Rules
To open a long position, the following conditions must be met:
Precondition – EMA50 line is above EMA150.
The first condition– Both the stochastic lines have touched the oversold (below 20) area.
The second condition – Both stochastic lines are back above the line 20.
After establishing all the conditions, we open a long position.
●Exit Rules
Stop Loss: We determine the lowest price of the previous valley as the stop loss.
Target or take profit: The profit of this trade is based on risk-to-reward, and the ratio of risk to reward can include one of the following, according to the riskiness of the trader:
1- One-to-one risk-to-reward (low-risk)
2- Risk-to-reward is one to one and a half (moderate risk)
3- Risk-to-reward one to two (high risk)

◊ How to open a short position for using the Stochastic & EMA Setup
● Entry Rules
Its conditions are the opposite of a long position.
The following conditions must be met to open a short trade:
Precondition – EMA50 line should be below EMA150.
The first condition - both stochastic lines have touched the overbought (above 80) area.
The second condition – both stochastic lines are back below the line 80.
After establishing all the conditions, we open a short position.
●Exit Rules
Stop Loss: We set the highest price of the previous peak as the stop loss.
Target or take profit: The profit of this trade is based on risk-to-reward, and the ratio of risk to reward can include one of the following, according to the riskiness of the trader:
1- One-to-one risk-to-reward (low-risk)
2- Risk-to-reward is one to one and a half (moderate risk)
3- Risk-to-reward one to two (high risk)

Note: The recommended time frame for this strategy is 15 minutes.
Conclusion
The Stochastic and EMA Strategy offers traders a balanced and structured approach to identifying high-probability trade setups by combining momentum analysis with trend confirmation.
The stochastic oscillator effectively highlights overbought and oversold zones, providing early reversal signals, while the EMA 50 and EMA 150 help filter out false entries by confirming the prevailing market trend.
By aligning trades with the direction of the EMAs and using clear stochastic crossovers as entry points, traders can improve consistency and reduce emotional decision-making.
Whether used on the 5-minute or 15-minute time frame, this method provides flexibility for both scalpers and short-term traders aiming to capture precise market movements.
With proper risk-to-reward management and discipline in following setup conditions, the Stochastic and EMA strategy can become a reliable addition to your trading toolkit—offering both simplicity and efficiency in navigating volatile markets.
Looking for more? Discover our other forex trading strategies and see how they can fit your trading style.
Professional tools for every trader
From custom Expert Advisor development based on your unique ideas to ready-made EAs built on documented strategies – we’ve got you covered. Find the solution that fits your style in our EA Shop.
Visit our Expert Advisor Shop
Check out our Free Indicators here
The EA for this strategy
The rules above, coded as a ready-made Expert Advisor. See its inputs and platforms, or ask for a modification.