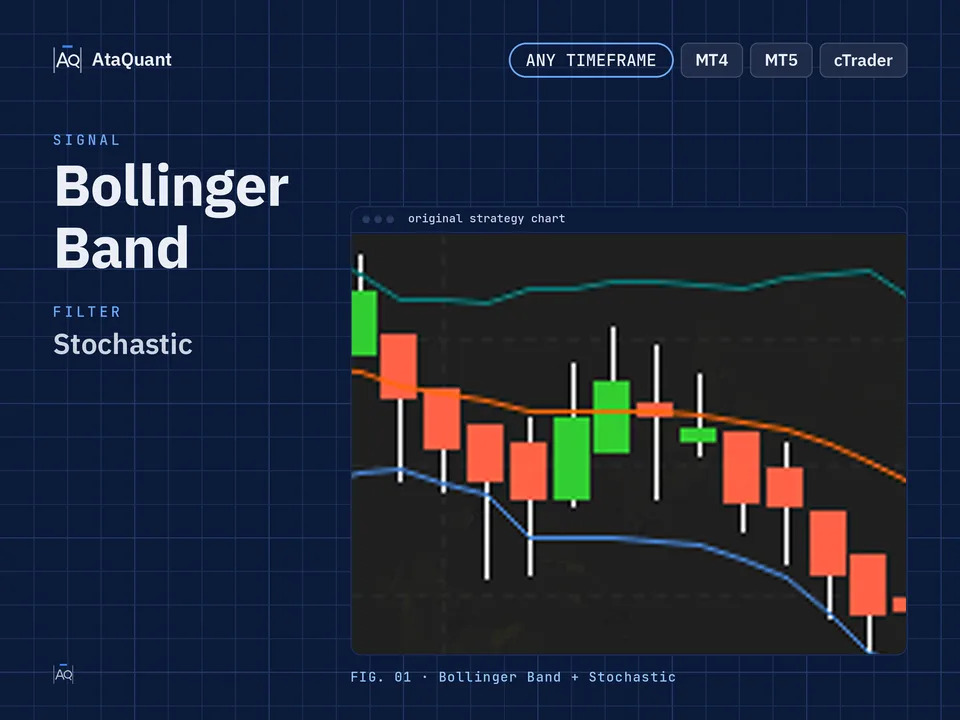
Bollinger Bands and Stochastic Trading Strategy
Boost your trading results with the Bollinger Band & Stochastic Strategy — a powerful setup combining dual Bollinger Bands and Stochastic crossovers. Optimized for multi-market trading, it enhances accurate reversals and consistent entries.

Ready-made EA for this strategy is provided below — scroll to purchase
◊ Introduction to the 15-Minute Bollinger Bands Scalping Strategy
This strategy, one of the simplest and most powerful trading strategies, uses two Bollinger Bands and Stochastic indicators.
Before commencing the training of this trading strategy, we will define these two indicators and oscillators.
◊ What is the Bollinger Bands indicator?
Bollinger Bands are widely used indicators that help identify overbought and oversold levels while measuring market fluctuations. The Bollinger Bands consist of three lines:
1- The middle line, which is the 20-day moving average (SMA 20)
2- The upper band, calculated by adding twice the standard deviation to the middle line
3- The lower band is obtained by subtracting twice the standard deviation from the middle line.

◊ What is the Stochastic oscillator?
This oscillator provides a simple and accurate means of identifying overbought and oversold conditions. It consists of two bands: an upper band indicating overbought levels and a lower band showing oversold levels. The lower band ranges from 0 to 20, while the upper band ranges from 80 to 100. Also, the Stock Stick oscillator includes two lines, K and D, which play a significant role in our cross strategy.

◊ Indicators Used
Apply the BB Indicator
Apply the Stochastic Oscillator
◊ The trading time frame of this strategy
The optimal time frame for trading with this strategy is 15 minutes or longer.
◊ Settings of indicators
Bollinger Bands Indicator settings
In the configuration settings, we utilized the default standard deviation value of 2 for one instance, while for another, we employed a StdDev value of 1.

Stochastic Oscillator settings
%K Length = 14
%K Smoothing = 3
%D Smoothing =3

When we insert two Bollinger bands on the chart with the above settings, one is placed inside the other. In this way, we have more support and resistance.

Want to Automate this Strategy? Check out Ready-Made Expert Advisor here
◊ How to open a long position using Bollinger Bands & Stochastic strategy
● Entry Rules
To open a long position, all the following conditions must be met.
The first condition - the lowest price (LOW candle) must be lower than the lower band of Bollinger.
The second condition requires an upward cross of the stoch to have taken place. This indicates that the blue line of the stoch has crossed over the red line, moving from the bottom to the top.
The third condition - the next candle must be closed above the lower band of the internal Bollinger bands. The more powerful this candle is, the more confident you can open a long position.
Tip: When entering the trade, the cross of the stochastic should occur closer to the lower band of the stock stick, indicating that it happens in the oversold area. This proximity enhances the confidence level of the strategy.
●Exit Rules
Stop Loss: We consider the lowest price of the candle that broke from the lower Bollinger bands.
Profit or exit from the trade: When the downward cross of the stochastic occurs, we exit the trade.

◊ How to open a short position using Bollinger Bands & Stochastic strategy
● Entry Rules
All of its rules are the opposite of the long ones. To open a short position, all the following conditions must be met.
The first condition - the highest price (HIGH candle) must be higher than the upper band of Bollinger.
The second condition states that a downward cross of the stoch must have taken place. This indicates that the red line of the stoch has crossed over the blue line from above to below.
The third condition - the next candle must be closed below the upper band of the inner Bollinger band. The more powerful this candle is, the more confident you can open a short position.
Tip: To enter the trade, the closer the Cross is to the upper band (that means it happens in the oversold area), the more confidence you can have in the strategy.
●Exit Rules
Stop Loss: We consider the highest price of the candle that broke the Bollinger Bands.
Profit or exit from the trade: When the upward cross of the stochastic occurs, we exit the trade.

Tips and summary
1- Do not open a trade before practicing and repeating this strategy in the demo account or past the chart.
2- Adhere to all the mentioned rules and open your trade if all three conditions are met.
3- If the condition of exiting the trade is established, in case of loss, accept the loss and close your trade.
Conclusion
The Bollinger Band and Stochastic trading strategy is a simple yet powerful approach that combines two of the most effective technical indicators to identify high-probability trade setups. By aligning Bollinger Band breakouts with Stochastic crossovers, traders can pinpoint moments when price reversals are most likely to occur. This strategy works well across different markets - from stocks to forex and crypto - and can be adapted to multiple time frames depending on the trader’s style.
However, like all trading strategies, consistent success depends on discipline and proper risk management. Traders should thoroughly backtest and practice this method on demo accounts before applying it in live trading. Strictly following the defined entry and exit rules, along with appropriate stop-loss placement, helps keep risk within your plan.
Finally, remember that every strategy can be optimized and automated. At AtaQuant, our team of experts can help you convert this or any other trading strategy into a fully functional Expert Advisor (EA) tailored to your needs. Explore our other strategies and start enhancing your trading performance today.
Looking for more? Discover our other forex trading strategies and see how they can fit your trading style.
Save time – automate your trades.
Why stick to manual trading when you can let automation work for you? We transform any strategy into a fully functional Expert Advisor. Or choose from our collection of ready-to-use EAs in the shop.
Visit our Expert Advisor Shop
Check out our Free Indicators here
The EA for this strategy
The rules above, coded as a ready-made Expert Advisor. See its inputs and platforms, or ask for a modification.