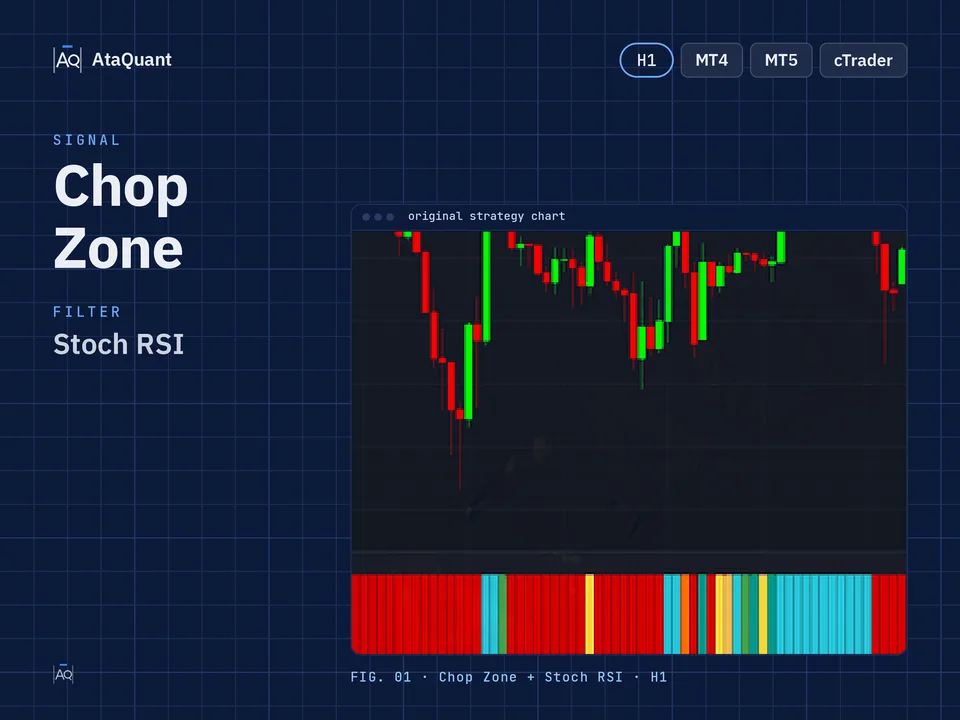
Chop Zone trading strategy
Boost your trading performance with the Chop Zone Strategy — a powerful setup combining Chop Zone, Stochastic RSI, and EMA200 to optimize trend filtering, improve entry accuracy, and support consistent 1H trading results.

Ready-made EA for this strategy is provided below — scroll to purchase
◊ Introduction to the 5-Minute DEMA Scalping Strategy
The Chop Zone indicator is an analytical tool designed to assess whether the market is trending or neutral.
In this strategy, we leverage the functionality of the Chop Zone indicator on a higher time frame to ascertain whether the specific stock or asset is exhibiting a trend or is in a neutral state. If the asset displays a discernible trend, we actively seek opportunities to enter trades aligned with the prevailing trend on a smaller time frame, utilizing additional trading tools.
In the rest of the article, while examining the tools and indicators needed to establish this strategy, we teach the entry and exit conditions of this strategy.
◊ Indicators Used
The following three indicators are used in this strategy:
Apply the Chop Zone Indicator for this setup
It is the basis of entering the trade using this indicator.
Apply the Stochastic RSI Indicator for this setup
In this strategy, we have used stochastic RSI to confirm entry.
Apply the EMA200 Indicator for this setup
We have used this indicator to detect the current trend and trade in the direction of the trend.

Learn more:
1- Stochastic oscillator trading strategy
2- STC and EMA trading strategy
◊ The trading time frame of this strategy
This trading setup can be used in a 1-hour time frame.
◊ Settings of indicators
Stochastic RSI Indicator settings
be the same as the default settings.
Chop Zone Indicator settings
In the Inputs section, we set the timeframe option to 4 hours.

In the style section, we select Color 0 as turquoise, Color 4 as red, and the rest of the colors as yellow.

EMA Indicator settings
In the Inputs section, we set its period to 200.

Learn more:
1- SSL, WAE, and EMA Trading Strategy
2- Enhancing Trading Success with the Stochastic and EMA Strategy
Want to Automate this Strategy? Check out Ready-Made Expert Advisor here
◊ How to open a long position using the Chop Zone Strategy
● Entry Rules
To make a long trade with this strategy, the following conditions must be met:
The first condition is that the price is above the EMA 200.
The second condition – the Chop Zone indicator for the previous 3 bars is turquoise.
Third condition - Stochastic RSI lines are in the oversold area (less than 20).
The fourth condition – in RSI Stochastic, the blue line crosses the orange line upwards.
Open a long position by fulfilling all four conditions.
●Exit Rules
Stop Loss: Consider the closest support before establishing the conditions as a stop loss.
Target or take profit: The profit of this trade is based on risk-to-reward, one-to-one or one to two.

◊ How to open a short position using the Chop Zone Strategy
● Entry Rules
To make the short trade with this strategy, the following conditions must be met:
The first condition is that the price should be below the EMA 200.
The second condition- the Chop Zone indicator, is red for the previous 3 bars.
The third condition- The RSI Stochastic lines are in the overbought area (more than 80).
The fourth condition– in RSI Stochastic, the blue line crosses the orange line downwards.
Open a short position by fulfilling all four conditions.
●Exit Rules
Stop Loss: Consider the closest resistance before establishing the conditions as a stop loss.
Target or take profit: The profit of this trade is based on risk-to-reward, one-to-one or one to two.

Tip: The recommended time frame to use this strategy is one hour.
Conclusion
The Chop Zone trading strategy provides traders with a structured framework for identifying trend conditions and executing trades with clear rules. By combining the Chop Zone indicator on a higher timeframe with Stochastic RSI confirmations and the EMA 200 trend filter, this approach helps traders avoid false signals in choppy markets and align entries with the broader market direction. The defined entry rules, stop-loss placement, and risk-to-reward targets make it a disciplined strategy suitable for both short and medium-term traders. While no trading method guarantees profits in every market condition, consistently applying these rules can enhance decision-making and improve overall trading performance.
Looking for more? Discover our other forex trading strategies and see how they can fit your trading style.
Turn your trading idea into reality!
No matter what strategy you have in mind, we can develop a custom Expert Advisor tailored to your needs. Prefer ready-made solutions? Explore our EA Shop and start trading instantly.
Visit our Expert Advisor Shop
Check out our Free Indicators here
The EA for this strategy
The rules above, coded as a ready-made Expert Advisor. See its inputs and platforms, or ask for a modification.